For a printable version of this page: Green Beans
Green Beans
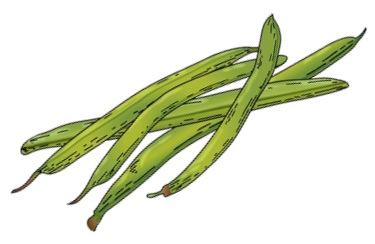
Snap beans, green beans, or string beans… no matter which name you prefer, they are one and the same. Beans with various pod colors (green, purple, red, or streaked) are collectively known as snap beans, while green beans are exclusively green. Depending on variety, they may be grown with a bush or pole habit and some types make terrific dried beans as well. Green beans are highly nutritious and easy to preserve.
Nutrition
Green beans are a good source of vitamin A, vitamin C and vitamin K , iron, thiamine, and low in sodium and fat.
Selection
Choose pods which are tender, firm, and free of blemishes. They should have a fresh, bright appearance and a crisp “snap” when broken. Avoid dull or wilted beans. Wash green beans before cooking or preserving by rinsing under cool, running water.
Storage
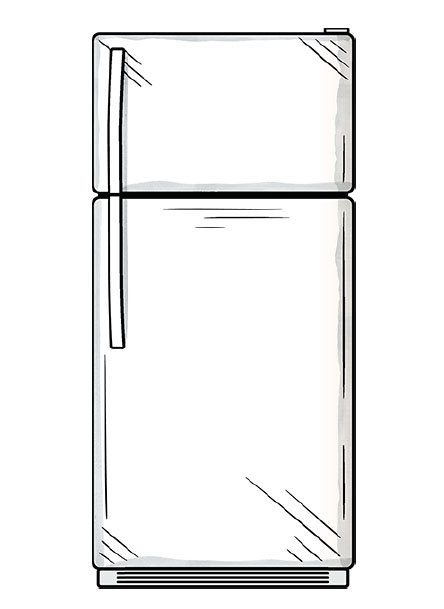
Unwashed beans can store for up to a week in the refrigerator; avoid washing until ready to use to ensure better storage. Store beans in a moisture-proof container such as a reusable plastic bag. Wash in cool, running water before using.
Measurements
Freezing
- Wash in cold water and cut into 2-4 inch lengths.
- To destroy enzymes and to help maintain color, texture, flavor, and nutrients, blanch green beans in boiling water for 3 minutes. (Allow 1 gallon of water for each pound of vegetables)
- Dip blanched beans immediately into ice water for an equivalent length of time.
- Drain and pack in moisture-vapor proof freezer containers or freezer weight plastic bags.
- Remove all air possible from the container before it is sealed, allowing ½ inch headspace for expansion. Seal, label and freeze.

Tip: For individually quick frozen, bite-sized pieces that may be poured from their package without thawing, place blanched beans one layer deep on a cookie sheet. Freeze uncovered. Once frozen, pack into moisture-vapor proof freezer containers or freezer weight plastic bags. Seal, label and freeze.
Drying
Preparation:
Remove strings if necessary. Split pods lengthwise to hasten drying.
Pretreatment:
Water blanch in boiling water 2-3 minutes; or steam blanching 3 – 4 minutes. Drain well.
Drying Procedure:
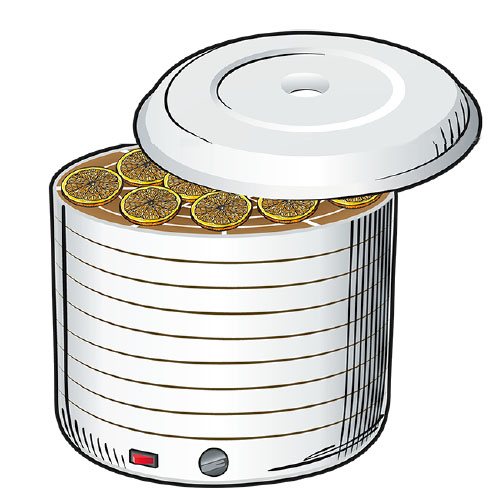
- Arrange in single layers on drying trays.
- Dry at 140°F for 8-14 hours until brittle. Cool thoroughly.
- Package dried green beans in moisture/vapor proof containers. Label. Store in a cool, dark, dry place.
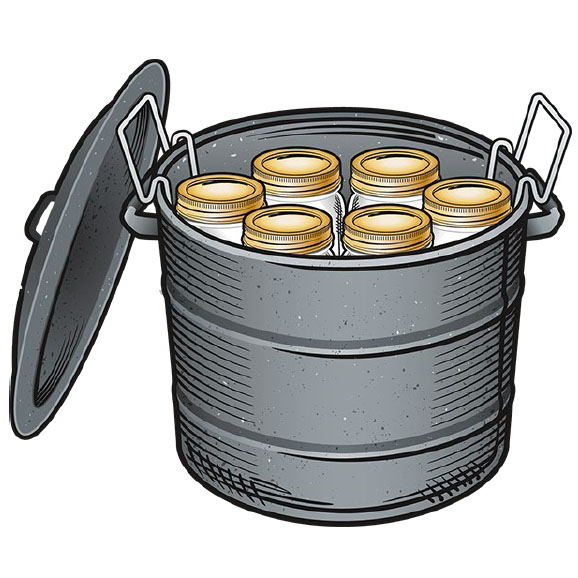
Boiling Water Canning

Green Beans are a low-acid food. Pressure canning is necessary when canning green beans to prevent the growth of botulinum bacteria. Refer to the National Center for Home Food Preservation for Pressure Canning Instructions.
Pickling
Pickled green beans products may be safely preserved using the boiling water canning method. Because green beans are a low-acid food, the proportion of vinegar to water in a pickling recipe is critical. Use only tested, approved pickling recipes and follow instruction for preparation of green beans.
Dilly Beans
Yield: About 8 pints.
Ingredients:
- 4 pounds fresh tender green or yellow beans (5-6 inches long)
- 8 to 16 heads fresh dill
- 8 cloves garlic (optional)
- 1/2 cup canning or pickling salt
- 4 cups white vinegar (5% acidity)
- 4 cups water
- 1 teaspoon hot red pepper flakes (optional
Wash and trim ends from the beans. Cut beans to ensure proper fit according to the jar height. To make brine, combine salt, vinegar, water, and pepper flakes.
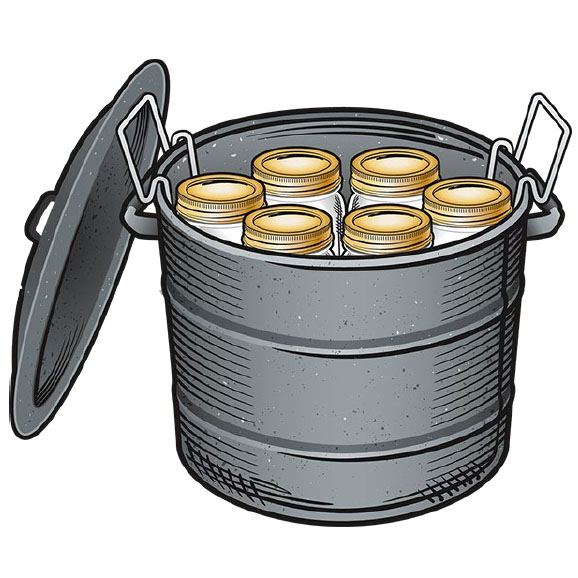
Bring to a boil. In each hot, pre-sterilized* jar, place 1 to 2 dill heads and, if desired, 1 clove of garlic. Place whole beans upright in jars, leaving ½ inch headspace. Add hot solution to beans, leaving ½ inch headspace. Remove air bubbles and adjust headspace if needed. Wipe rims with a clean, damp paper towel. Adjust two-piece lids and process in a boiling-water canner according to directions on following page.
Once processing is complete, turn off heat, remove the canner lid and wait 5 minutes. Remove jars. Let cool at room temperature, undisturbed, 12 to 24 hours and check for seals. Wipe jars, remove rings, label, and store in a cool, dry place.
Processing Directions for Dilly Beans:
| Style of pack | Jar Size | 1–1,000 ft | 1,001–3,000 ft |
| Hot | Pints | 5 minutes | 10 minutes |
Boiling Water Canning
Pickled Three-Bean Salad
Yield: About 5 to 6 half-pints
Ingredients:
- 1-1/2 cups cut and blanched green or yellow beans (prepared as below)
- 1-1/2 cups canned, drained, red kidney beans
- 1 cup canned, drained garbanzo beans
- 1/2 cup peeled and thinly sliced onion (about 1 medium onion)
- 1/2 cup trimmed and thinly sliced celery (1-1/2 medium stalks)
- 1/2 cup sliced green peppers (1/2 medium pepper)
- 1/2 cup white vinegar (5 percent)
- 1/4 cup bottled lemon juice
- 3/4 cup sugar
- 1/4 cup oil
- 1/2 tsp canning or pickling salt
- 1-1/4 cups water
Procedure: Wash and snap off ends of fresh beans. Cut or snap into 1- to 2-inch pieces. Blanch 3 minutes and cool immediately. Rinse kidney beans with tap water and drain again. Prepare and measure all other vegetables.
Combine vinegar, lemon juice, sugar, and water and bring to a boil. Remove from heat. Add oil and salt and mix well. Add beans, onions, celery, and green pepper to solution and bring to a simmer. Marinate 12 to 14 hours in refrigerator, then heat entire mixture to a boil. Fill clean jars with solids. Add hot liquid, leaving 1/2-inch headspace. Remove air bubbles and adjust headspace if needed. Wipe rims of jars with a clean, damp paper towel; apply two-piece metal canning lids. Process in a boiling water canner according to directions below.
At the completion of processing, turn off heat and wait 5 minutes before removing jars. Let cool at room temperature, undisturbed, for 12 to 24 hours and check for seals. Wipe jars, remove rings, label, and store in a cool, dry place.
Processing Directions for Applesauce:
| Style of pack | Jar Size | 1–1,000 ft | 1,001–3,000 ft |
| Hot | Half Pints or Pints | 15 Minutes | 20 Minutes |
Preserve Skagit Crop Sheets describe three food preservation techniques—freezing, drying, and boiling water canning—consistent with USDA Food Preservation and Food Safety recommendations. Pressure canning for low acid foods such as meats and vegetables is not included.
Additional resources and recipes, as well as information on Pressure Canning, can be found on the WSU Skagit Food Preservation Website https://extension.wsu.edu/skagit/fam/food-preservation/ or the National Center for Home Food Preservation https://nchfp.uga.edu/index.html.
Copyright 2022 WSU Skagit Extension. Any opinions, findings, conclusions, or recommendations expressed on this fact sheet are those of the author(s) and do not necessarily reflect the view of the USDA. WSU Extension programs are available to all without discrimination