Vermiculture
What is Vermiculture Composting?
Vermiculture, or vermicomposting, is a composting method that uses worms — most commonly Red wiggler — together with grit and microorganisms they break down food scraps and other organic materials into a stable, nutrient-rich soil amendment known as worm castings. Vermicompost is preferable for household scraps since food scraps do not need hot composting to eliminate pathogens and has a higher nitrogen concentration for plants that need it: it’s fundamentally pure worm manure.
Vermiculture systems can be in-ground, where worms move freely between soil and composting materials, or contained in bins or tray systems that can be used indoors or outdoors.
Why Choose Vermiculture
Vermiculture is especially well suited for managing household food scraps because worms efficiently convert everyday kitchen scraps into high-quality compost while requiring minimal space, equipment, and cost. Composting worms typically consume about 25–50% of their body weight in food per day. A practical rule is that 1 pound of worms can process roughly ½ pound of food scraps per day (about 3–4 pounds per week), allowing households to match worm population size to their food waste volume and scale over time.
Worms like moderate temperature range of 55-77°F where they are most active and productive. They can tolerate temperatures between 39–90°F, but struggle above 90°F and can die if temperatures fall below 40°F or exceed 95°F.
Because these systems operate in a small footprint and focus on food scrap processing, Vermiculture offers an efficient, accessible way to recycle organic waste into a valuable resource for gardens, landscapes, and container plants.
Factors to Consider When Choosing
- Location: Decide if the bin will be used indoors (kitchen, basement) or outdoors (garden, covered porch). Indoor bins prioritize aesthetics and odor control, while outdoor bins need durability and weather resistance.
- Capacity: The amount of food waste your household produces will determine the size needed. Many stackable models are expandable if your needs grow over time.
- Budget: Prices for bins typically range from $40 to over $300, depending on size, features, and design. Worms are often sold separately. There are also more cost-effective options if you are comfortable with DIY.
Getting Started with Vermiculture
How Much to Feed
- Worms can theoretically eat up to their own weight per day, but a safe, practical approach is 1/3–1/2 of their weight per week.
- Example: 1 pound of worms → 5–8 ounces of food scraps.
- Start slowly to prevent soggy, smelly conditions.
When to Feed
- Add new food only after most of the previous scraps are gone.
- Feeding based on consumption—not a strict schedule—keeps the bin balanced.
Preparing Food
- Chop or blend scraps to speed decomposition. Worms rely on microbes, not teeth.
- Coffee grounds, tea leaves, soft fruits, and vegetables are easiest.
- Coarser pieces are okay; they will eventually break down.
- Freezing scraps before feeding slows spoilage and softens tougher items.
What to Feed
- Safe & easy: Fruits and vegetables, Coffee grounds and tea leaves, Shredded paper, cardboard, coconut coir
- Moderation: Citrus, fatty foods, dairy, and meat in small bins
- Slow to decompose: Bones, corn cobs, broccoli stems
- Myths: Onions, garlic, and spicy foods are fine—worms have no taste buds.
Tip: shredding materials including food creates more surface area that expedates decomposition.
Worm Population
- Red wigglers can double their population roughly every 3 months if they have enough space and food.
- Start small, expand with population growth.
- More worms = more food-processing power, but overfeeding risks remain.
- Soft fruits & vegetables: a few days to a week
- Coffee grounds & tea leaves: 1–2 weeks
- Tougher scraps: 2–4 weeks
- Bones/fibrous items: several months
Are you feeding them enough?
On track: Food gone within ~1 week, earthy smell, active worms.
Overfed: Slimy, smelly food → reduce feeding, add bedding.
Underfed: Food disappears quickly, worms very active → increase scraps gradually.
- Track Normal Feeding
- Observe how much worms eat for a week or two before leaving.
- Avoid Overfeeding: Only provide the amount they would normally consume.
- Add Slow-Breaking Food & Extra Bedding
- Use corn cobs, banana peels, broccoli stems, etc.
- Extra bedding acts as backup food.
- Check Moisture
- Bin should be damp but not wet. Cover with damp cardboard if needed.
- Optional: Worm Sitter
- For absences longer than 3–4 weeks, ask a friend to feed pre-portioned scraps.
- Simple instructions: bury food under bedding, avoid overfeeding.
Long Absences: Worms can survive months on bedding alone. Population may reduce, but cocoons will hatch once normal feeding resumes.
Returning Home: Inspect bin and population, add fresh bedding and a small amount of food and then gradually return to regular feeding routine.
| Issue | Cause | Solution |
| Smelly Bin | Overfeeding, excess moisture | Remove excess food, add dry bedding, stir gently |
| Slimy Food | Too much moisture | Reduce food, mix in dry bedding |
| Escaping Worms | Wet, acidic, or overcrowded | Adjust moisture, add bedding, reduce food |
| Slow Decomposition | Food not chopped, low population | Chop/blend food, allow worms to grow |
| Pests (fruit flies) | Overripe food, exposed scraps | Cover food with bedding, reduce feeding |
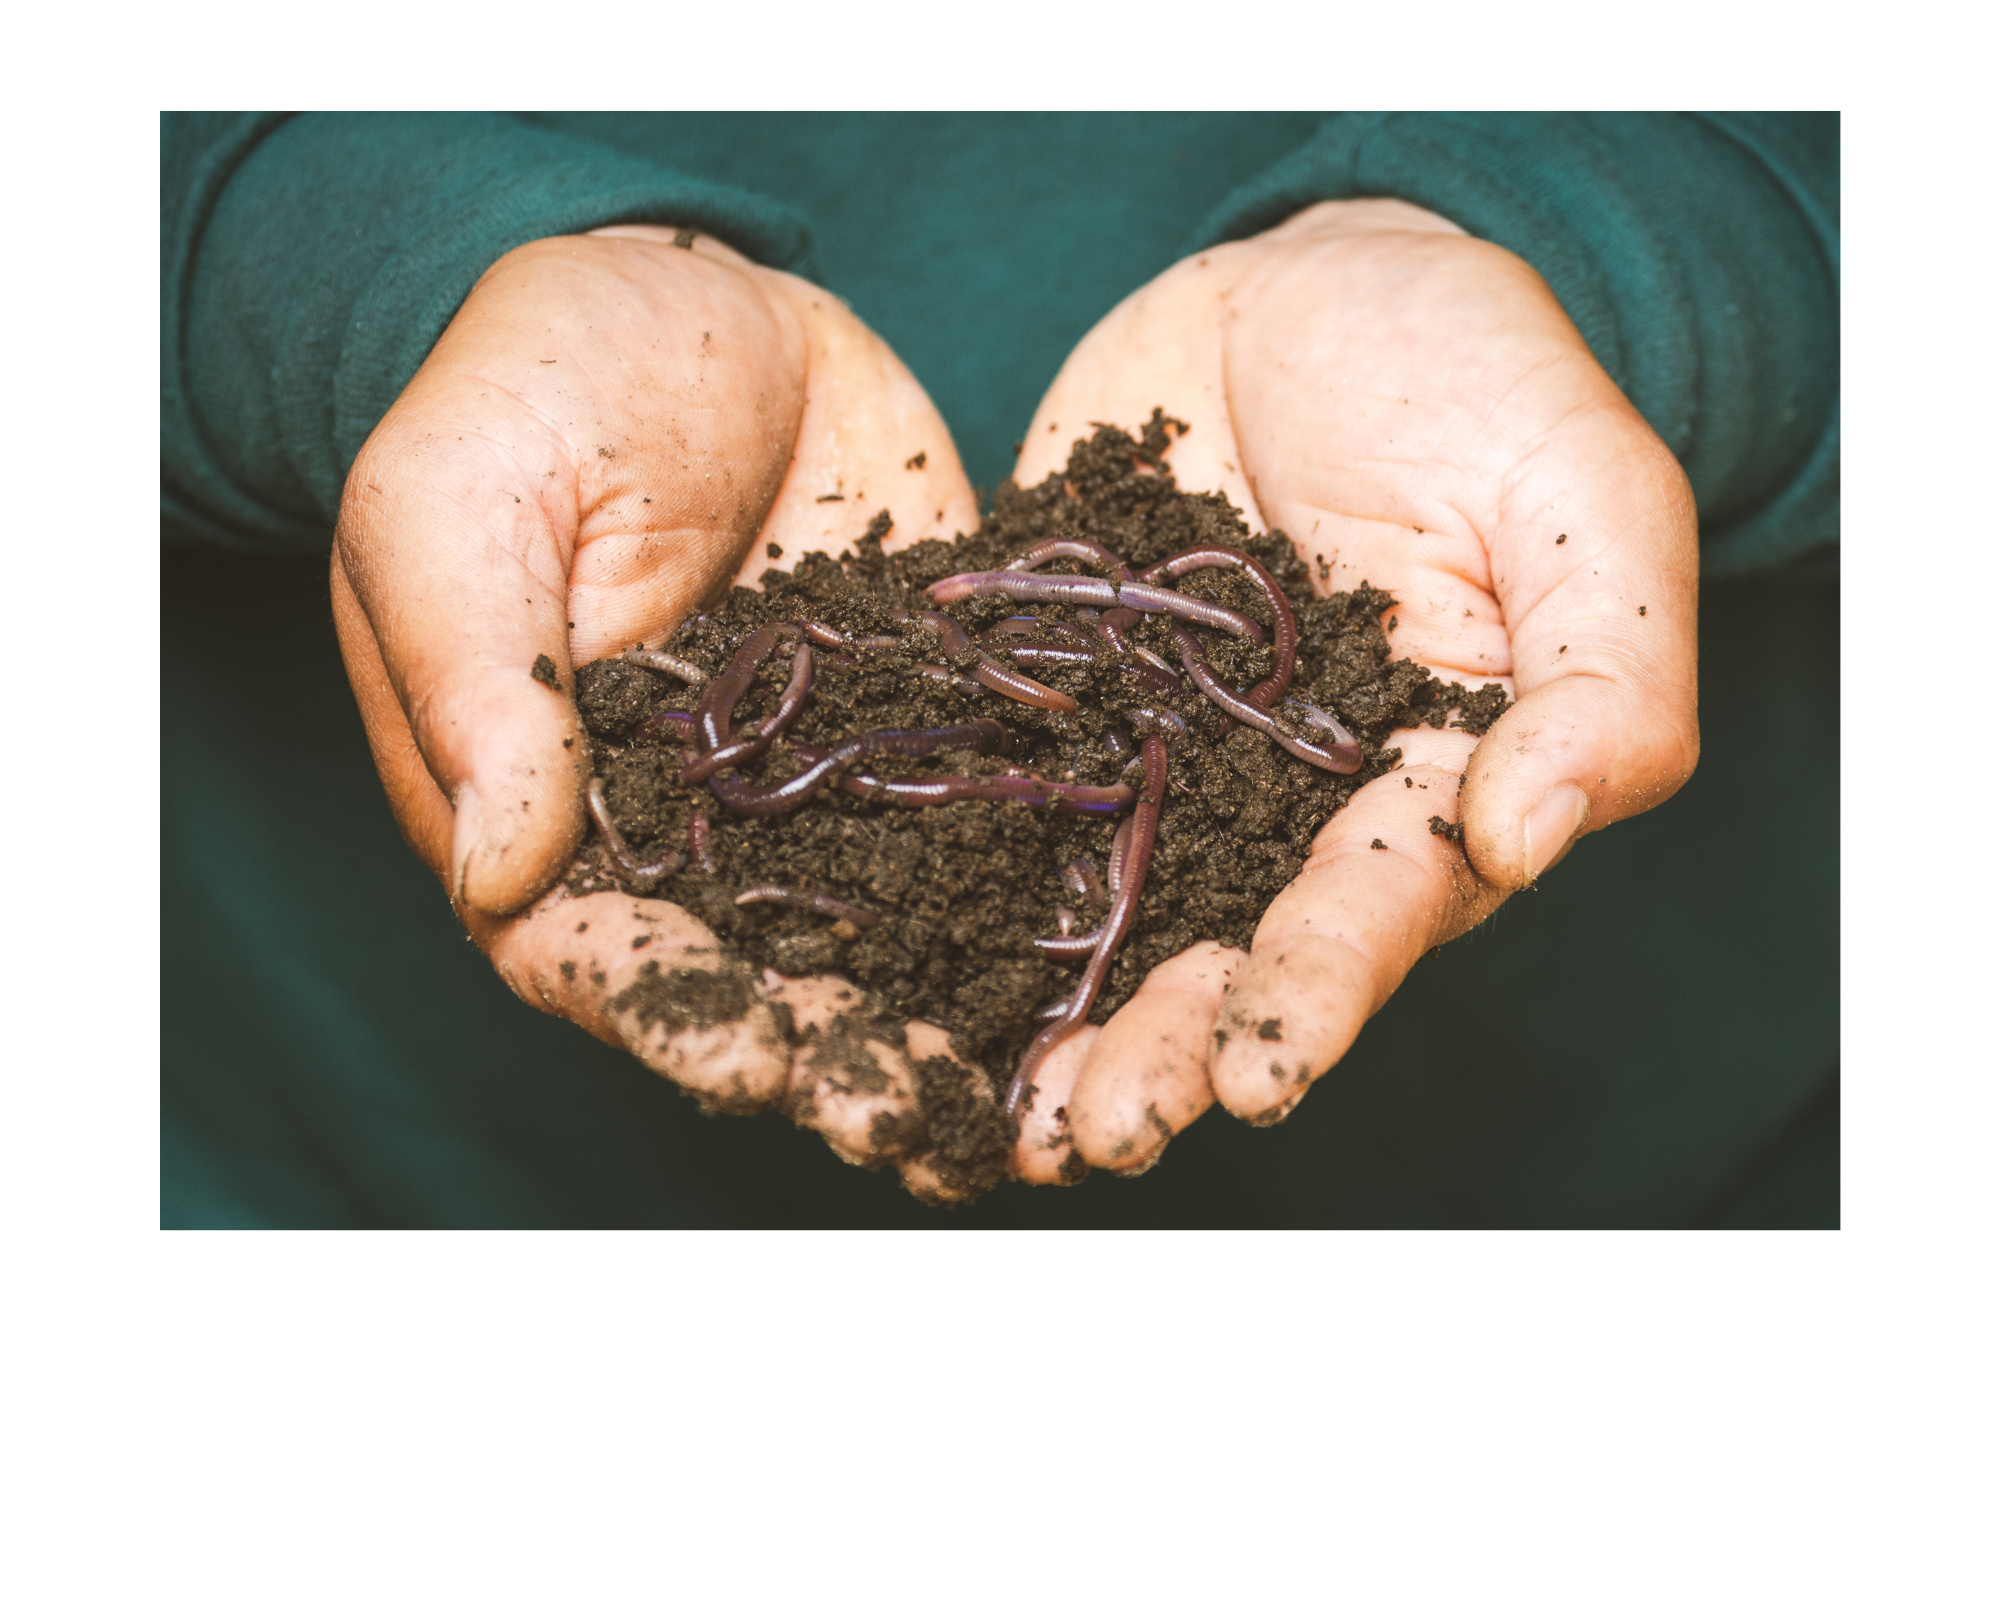
Vermiculture Composting Systems
Stackable Tray Systems
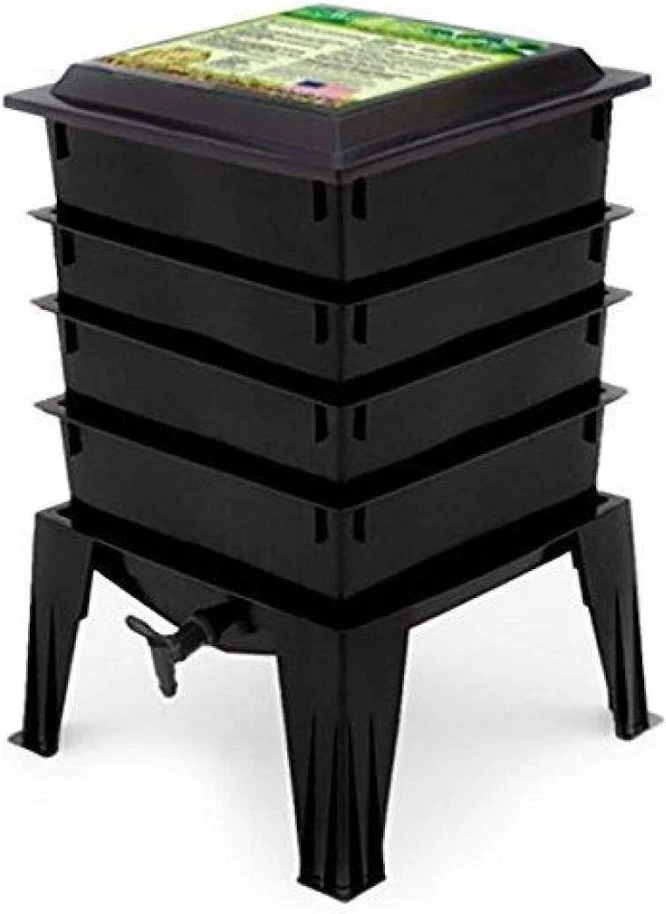
In-Ground Worm Composter
Continuous Flow Worm Bin

On Ground Worm Compost Bin
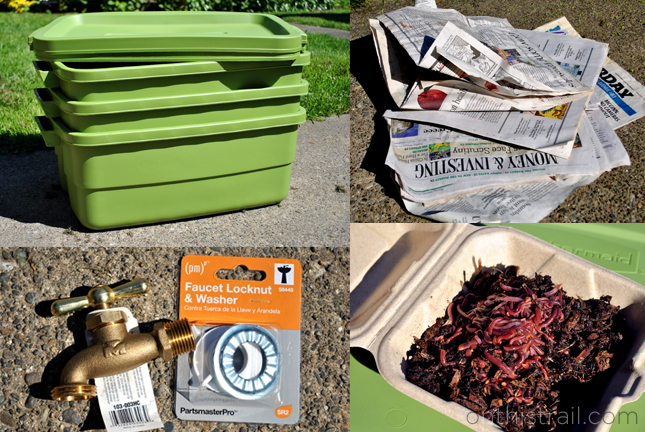
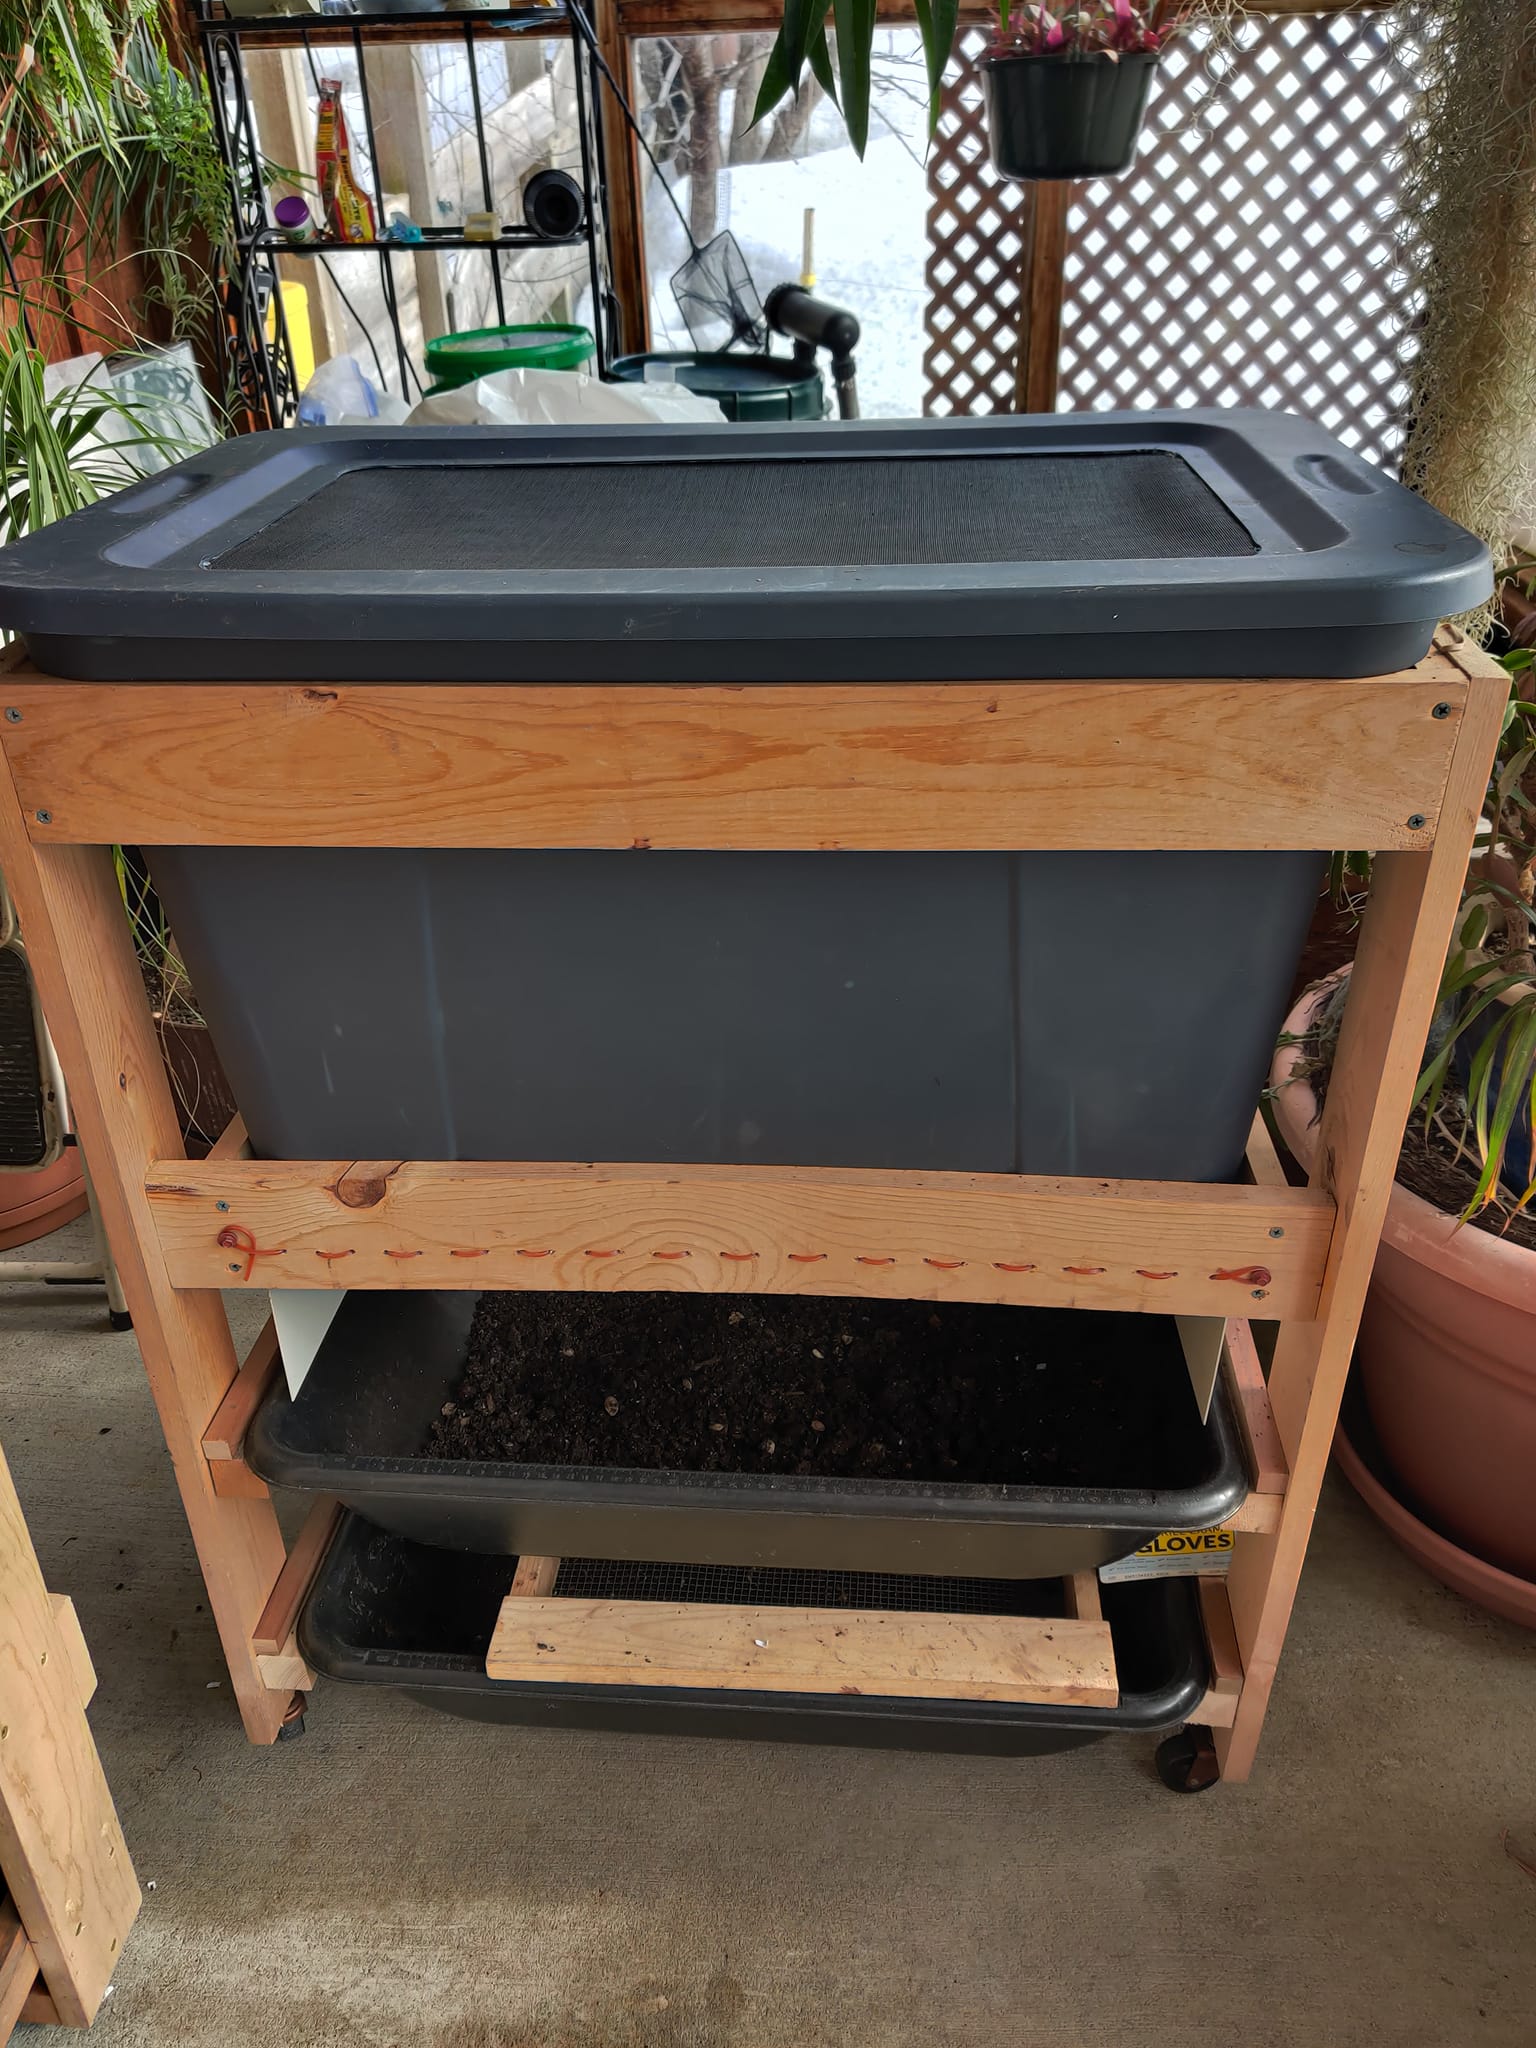
DIY Worm Bins
Transferring Worms to New Bedding
Harvesting worm casting starts with separating the worms from the material. First you’ll need to take a pause on how you are incorporating the food source and use it as a tool. There are three options for transferring to new bedding:
- Move all material in the worm bin to one side of bin, then add new bedding and food material to the other side of the bin and let them migrate on there own as the old pile becomes less desirable and lacks a food source.
- Use a light source and the worms will move away. One option is to make multiple small piles on a tarp with an overhead light. The worms move to the bottom of the pile so as the upper material is removed, the worms have collected in the bottom center of the pile. Pickup and move to their new location.
- Dump the bin onto a tarp and pick them out by hand.
- Using a tray system, the worms will continue to migrate upward toward new food, allowing the most bottom tray to be removed, and cleaned, and then added to the top of the tray system waiting for new material.
Vermiculture Overview Resources
- Worms Eat My Garbage By: Mary Appelhof and Joanne Olszewski
- Black Gold – Worm Farming 101: A Practical Guide to the Essentials of Vermiculture & Vermicomposting for Beginners By Pat Blackburn
- The Worm Farmer’s Handbook: Mid- to Large-Scale Vermicomposting for Farms, Businesses, Municipalities, Schools, and Institutions by Rhonda Sherman
- All About Vermicomposting at WSU Puyallup (Video 12 minutes)
- Composting with Worms by Oregon State University Extension Services
- Vermicomposting for Households by NC State Extension
- Adventures of Herman the Worm (everything you want to know about worms-designed for kids, but adults will enjoy it just as much)
- WSU Thurston County Extension Vermicomposting (Worm Composting) Tip Sheet
- Build a Worm Compost Ground Bin by WSU Whatcom County Extension
- Build a Five-Gallon Bucket Vermiculture Compost Bin by the University of Illinois Extension
- Build a Vermiculture Tote by Tilth Alliance showing how to use nesting totes.
- Build an In-Ground Vermiculture System by Deep Green Permaculture
- Kitsap E-Z Earth Greenhouse: Offers red worms, vermicompost (castings), and worm bins.
- Valley Nursery (Poulsbo): Sells composting worms and gardening supplies.
- Yelm Earthworms & Casting Farm: Good site for buying worms, castings, soil, books, videos, and bins. Articles too. www.yelmworms.com
- Kitsap County Public Works: Offers an Adopt a Worm Classroom Composting Program with educational resources.
*Note: WSU Extension does not endorse specific products. These are provided as an example of what and where you can purchase some of the necessary items.
- Storage and Use of Worm Castings by Louisiana Cooperative Extension Service, LSU College of Agriculture
- Putting Worm Castings To Use by University of California (UC) and the UC Division of Agriculture & Natural Resource
- Rodale Institute provides a “Compost Tea: A How-To Guide” Providing instructions for what you need, directions for Aerated and Non-aerated Compost
Funding for this education is provided by Kitsap County Public Works, Solid Waste Division.